
Home
Meet the Team

Why Partner With Us

Home Search
Home Valuation

Communities

Testimonials
New Developments

Commercial
Video Gallery
Blog

Contact Us

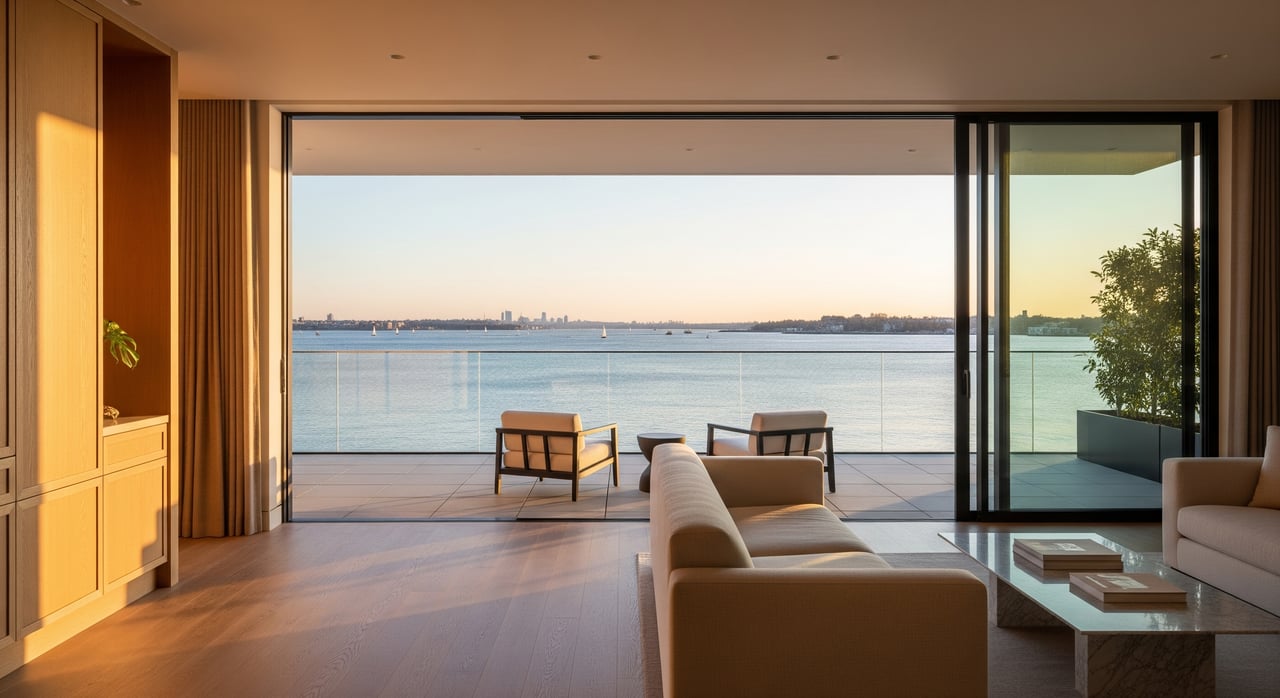
Picture your living room opening to a calm sweep of New York Harbor, ferries tracing the channel, and the skyline catching late-day light. If you own or are developing on Staten Island’s North Shore, that view is your unfair advantage. The challenge is translating it into everyday comfort, durability, and market impact. In this guide, you’ll learn how to plan layouts, choose glazing and terrace details that thrive in salt air, and capture the vista in photos that drive demand. Let’s dive in.
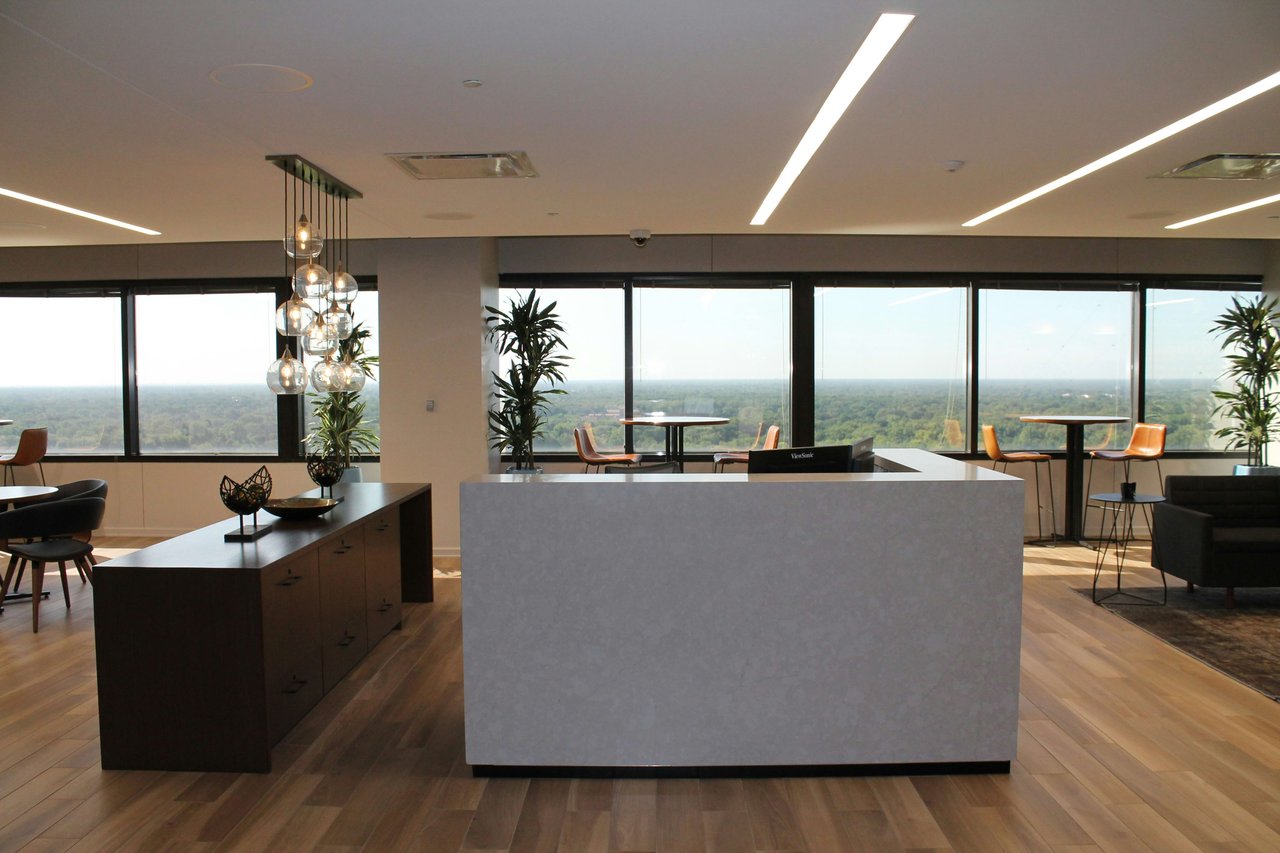
St. George, Tompkinsville, and Stapleton line the harbor and sit close to the Staten Island Ferry and growing waterfront amenities. Buyers prize outdoor living and quick connections, and a well-framed harbor view can shift how a home feels and how it performs on the market. The view premium varies by building type and layout, so it helps to pair design upgrades with local comps and an appraiser’s guidance.
Because this is a temperate, humid coastal location with salt spray, wind events, and periodic storm surge, you need materials and details that stand up over time. Plan for rising sea levels and more intense storms, and verify flood elevations before you set terrace heights or place mechanicals. Smart resiliency choices protect value and reduce future headaches.
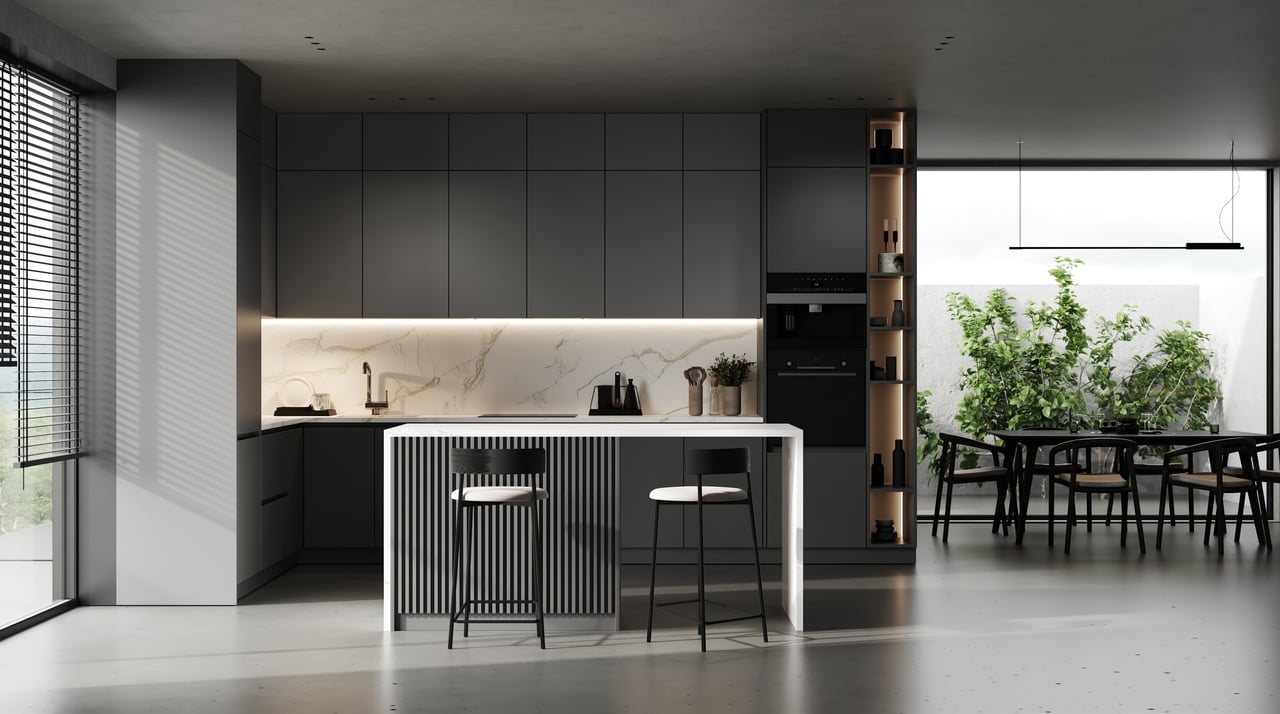
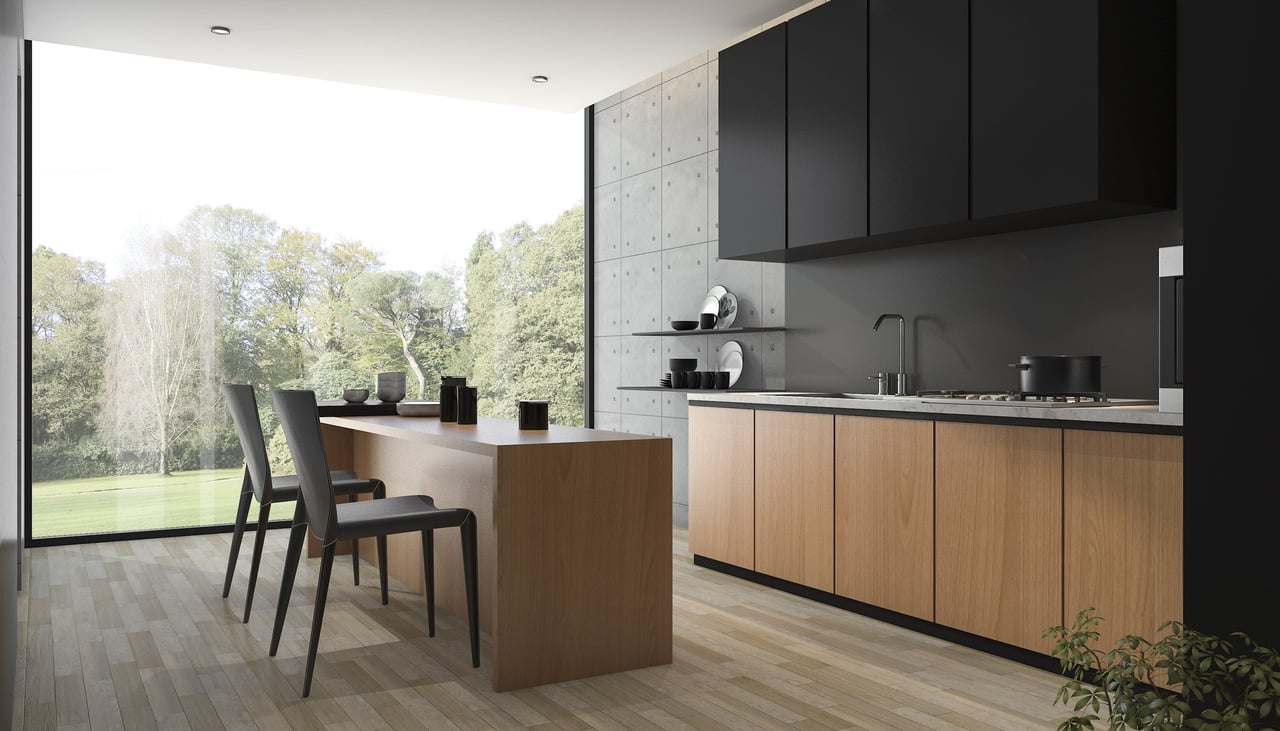
Put primary living spaces along the harbor-facing side. Position living, dining, kitchen, and the main bedroom toward the water, and move bathrooms and utilities to the back. When you stack windows and terrace doors vertically in multi-floor units, you create clean view corridors and future flexibility for larger sliding systems.
Consider corner glazing or L-shaped window and door combinations at corners. These expand angular views and reduce blind spots. You can also align entries, hallways, or stairs to terminate at a framed harbor view, which increases perceived depth even in compact footprints.
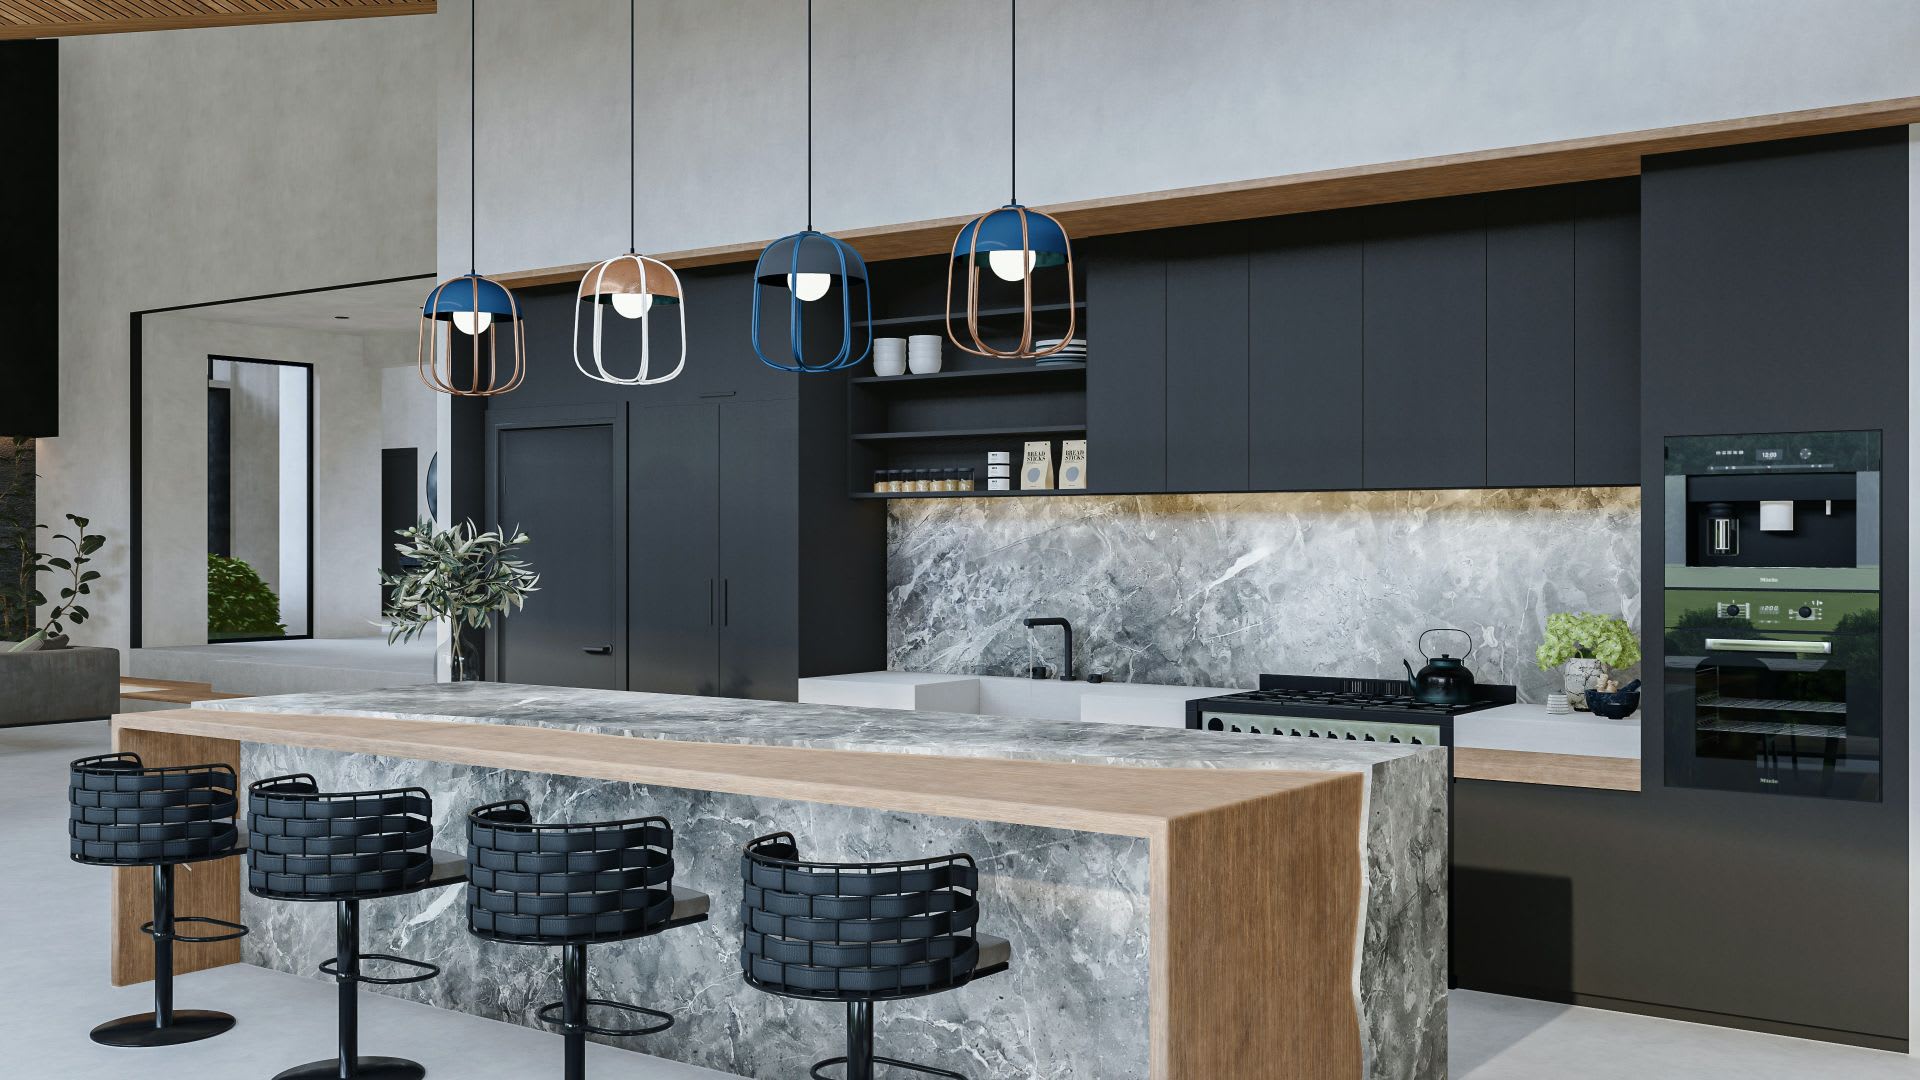
Open-plan living helps daylight travel deeper. Use furniture to frame the view: low-profile sofas and a dining table oriented toward the windows. Replace full-height partitions with glass, open shelving, or low knee walls on the view side so you preserve light and sightlines while keeping rooms functional.
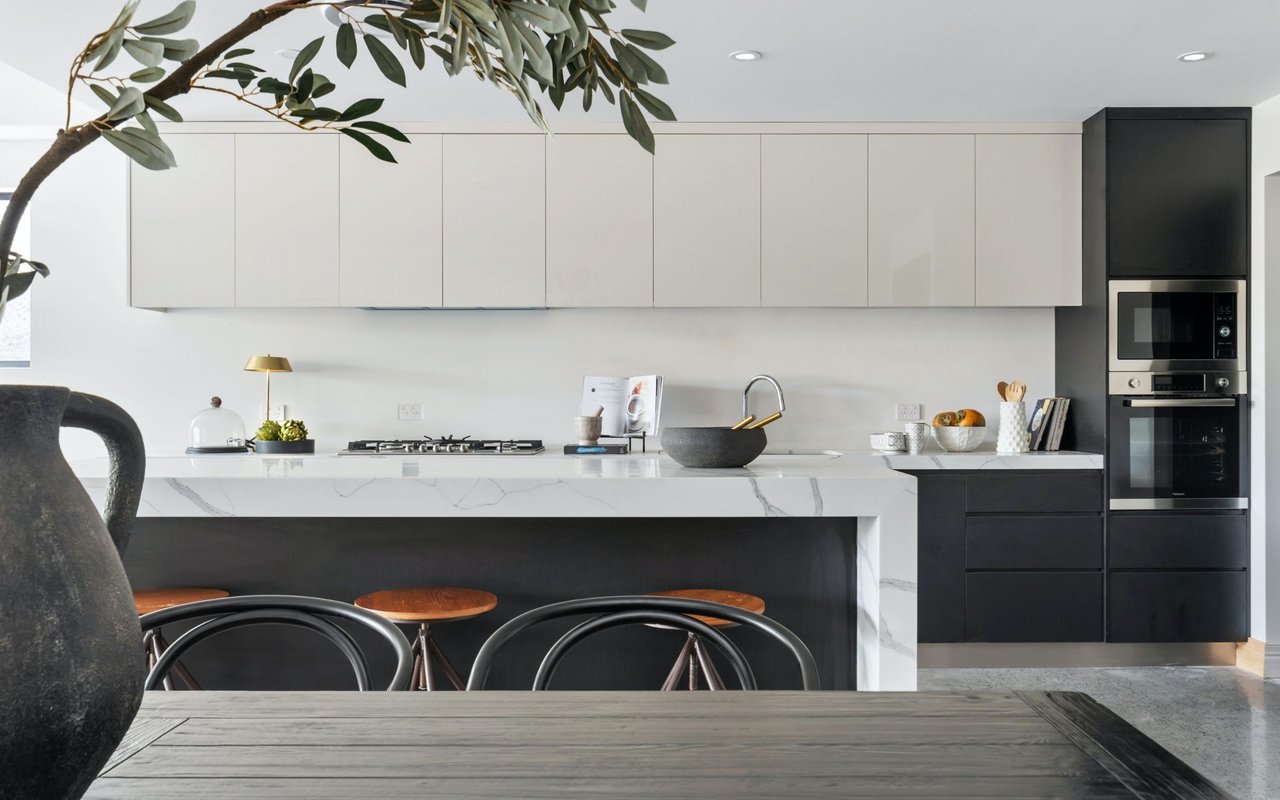
Floor-to-ceiling glazing maximizes visibility, while clerestories or transoms can bring in light where you need privacy. On the non-harbor side, high windows or clerestories balance daylight so your view reads crisply in person and in photos. Interior finishes should favor lighter, low-reflectance colors to amplify light without causing glare.
If nearby buildings or rooftops interrupt the view, small elevation shifts can help. A slightly sunken living room or a raised dining platform can change the eye level, clearing obstacles without major structural changes. Keep transitions simple and accessible.
Start with insulating glass units. Double-pane is a baseline, and triple-pane can be useful in especially noisy or energy-focused projects where budget allows. Aim for windows with a low U-factor for energy performance and a balanced solar heat gain coefficient so summer heat stays manageable while the harbor view stays bright.
Laminated glass improves acoustics and safety, which matters near busy streets, ferry routes, or port noise. If your project falls into mapped windborne-debris or higher wind zones, confirm impact-rated systems as required by code. Check with the NYC Department of Buildings early so specifications match local triggers.
Choose frames built for coastal exposure. Thermal-break aluminum with high-quality powder coat or Class I anodizing provides slim profiles and durability. Fiberglass frames also perform well. Use 316 stainless fasteners and hardware throughout, and avoid non-marine-grade metals that corrode in salt air.
Site terraces to suit light and lifestyle. North and east exposures deliver softer morning light, while west-facing spaces capture sunsets but need shading. Protect interiors by specifying a continuous waterproofing membrane with positive slope to drains, and make sure drains are accessible for maintenance.
Pick decking that resists salt and moisture. Capped composite, PVC, or aluminum decking are lower-maintenance choices. Dense hardwoods like ipe can be beautiful if you commit to regular finishing. Keep rails slim. Glass or minimal-infill powder-coated aluminum with a low-profile top rail preserves the horizon line. Verify guardrail heights and loading with DOB requirements.
Door thresholds must manage water. Lift-and-slide or multi-panel pocket doors create wide openings, but they need track designs and drainage that handle wind-driven rain and salt. Raised thresholds or recessed pans with positive drainage keep interiors dry without killing the indoor-outdoor feel.
Exterior metals should be marine-minded. Use 316 stainless for exposed hardware and specify powder coats verified with salt-spray testing. Brick, masonry, fiber cement, and exterior-rated high-pressure laminates are durable in this climate. Sealants should be UV and salt resistant.
Inside, choose light, neutral walls with moderate reflectance to brighten rooms without glare. Medium-toned, low-gloss flooring frames the view and photographs cleanly. For window treatments, sheer or light-filtering shades manage glare while keeping the skyline visible, and simple motorization helps fine-tune light during showings and shoots.
Confirm if your property is in a FEMA flood zone and identify base flood elevations. This informs where living spaces, electrical, and mechanical systems should sit. Place condensers and equipment above expected flood and splash levels and consider corrosion protection for outdoor units.
Review NYC zoning, waterfront rules, and DOB requirements for guardrails, wind loads, and glazing. Early coordination avoids rework and supports smoother permitting. When in doubt, verify specifics with FEMA maps, NOAA projections, NYC DOB, and the NYC Department of City Planning.
Time your shots. Golden hour and blue hour capture mood and skyline color, while early morning and late afternoon reduce harsh glare inside. For interiors, bracket exposures so windows show the harbor clearly without blowing out highlights.
Compose with the harbor as the anchor. Use the rule of thirds and include a bit of interior context so buyers feel the scale and lifestyle. A tripod, a wide-angle lens that does not distort, and perspective correction help produce polished results. Use polarizing filters to cut reflections where practical.
Be careful with drones. NYC airspace is tightly controlled. The FAA regulates small drones and waivers can be required. Many areas, including city parks, restrict operations. Work with licensed pilots who secure proper authorization and carry insurance, or skip aerials and use elevated vantage points and terrace shots to tell the story legally and safely.
Clear sightlines, generous terraces with proper drainage, and coastal-grade finishes deliver tangible buyer benefits. Homes feel bigger and brighter, and outdoor spaces get used more. In marketing, show off minimal mullions, glass railings, and durable materials to reduce maintenance concerns in buyers’ minds.
Tie your investment to local pricing. Document before-and-after views, produce strong media, and engage an appraiser early to estimate the view premium for your unit type. This gives you confidence on pricing strategy and helps your listing stand out.
Ready to translate your harbor view into market momentum? From layout counsel to staging, video, and launch strategy, our team can help you position for maximum impact. Schedule Your Strategy Call with JC Luxury Group.
Are you interested in buying or selling a home? Look no further than working with our real estate experts.